Follow the quick tutorial
The fastest path to understanding the workflow is to build a simple package from start to finish. Open the tutorial ->
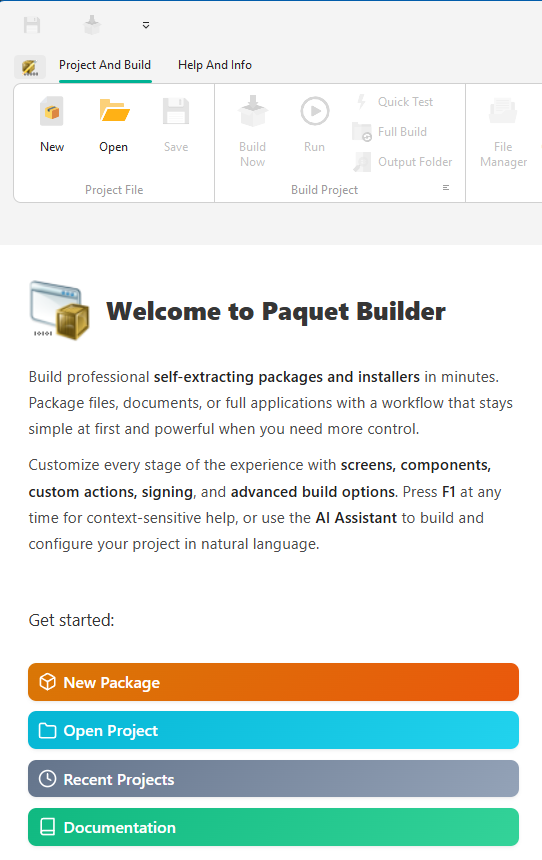
When Paquet Builder opens, you land on the welcome page where you can create a new project or reopen an existing one. From there, the product guides you through the full package workflow: define the package, add content, choose runtime behavior, and compile the final output.
Start with a new or existing project
Create a new package from scratch or reopen a saved project file.
Use the left navigation to move through package settings
Paquet Builder groups most options into three main panels:
General for the package identity, screens, file management, and basic user-facing behavior.
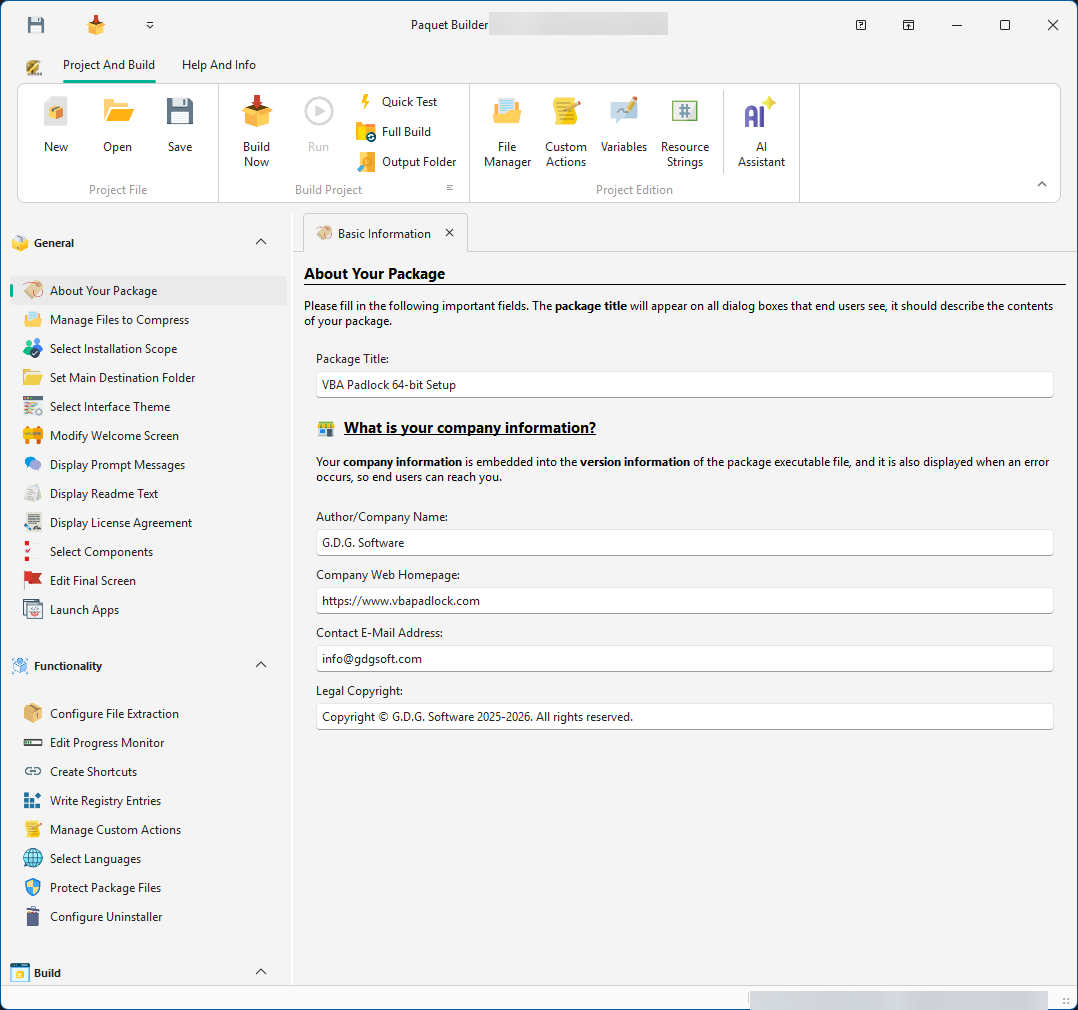
Functionality for runtime behavior such as shortcuts, registry entries, or extraction logic.
Build for output paths, signatures, compression, and advanced compilation options.
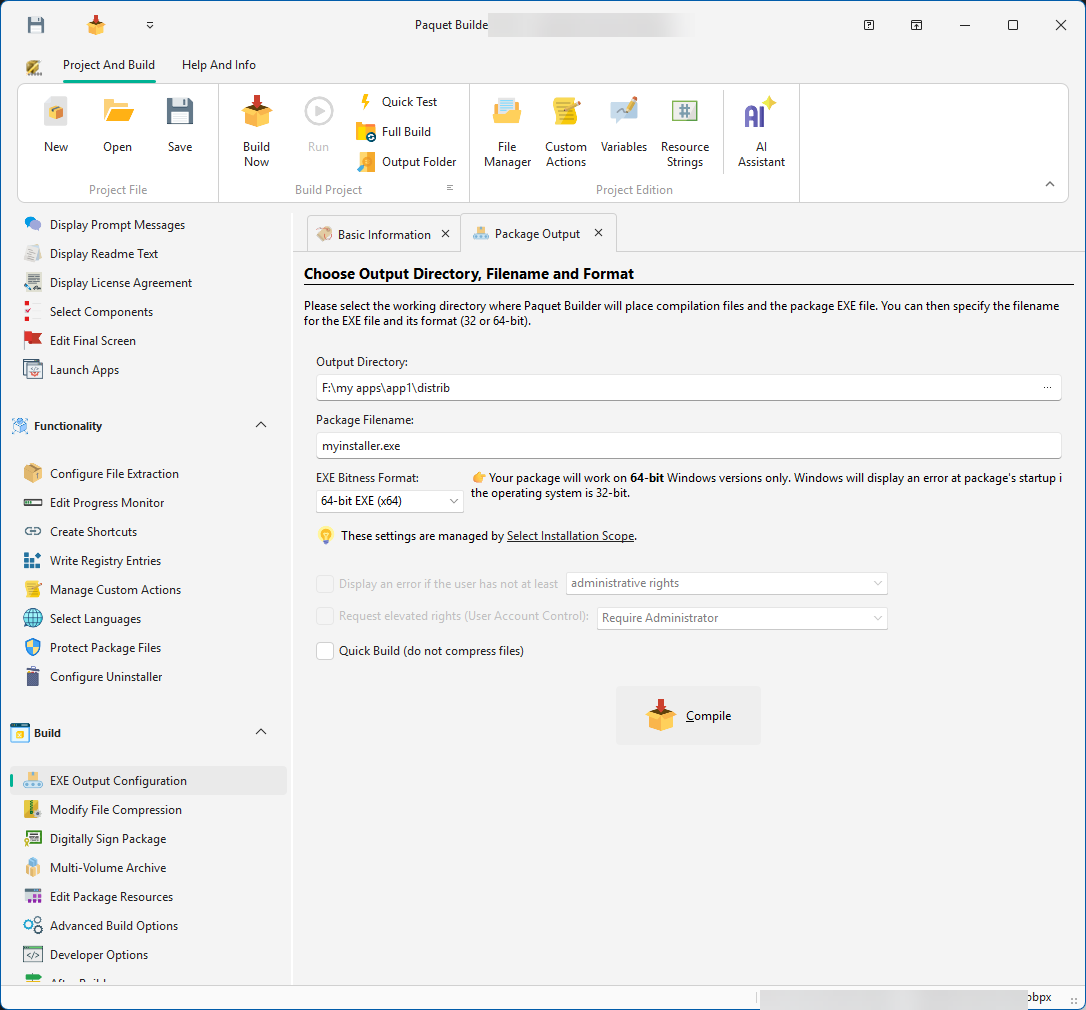
Open multiple pages in tabs
Clicking items in the navigation tree opens them in tabs, so you can compare settings or keep several topics open while working.
Use the application button for global commands
This menu gives you access to broader actions such as project-level commands and utilities.

Follow the quick tutorial
The fastest path to understanding the workflow is to build a simple package from start to finish. Open the tutorial ->
Read about project types
Paquet Builder supports different kinds of packages, and the right starting point depends on what you want to ship. Choose a project type ->
Ask the AI Assistant
In Paquet Builder 2026, you can describe the package you want in natural language and let the assistant prepare settings for you. Open AI Assistant overview ->
Need more examples?
If you prefer guided walkthroughs and practical scenarios, continue with the online tutorials. Browse tutorials ->