Add
Click Add to select a file from your project and open the Shortcut Editor.
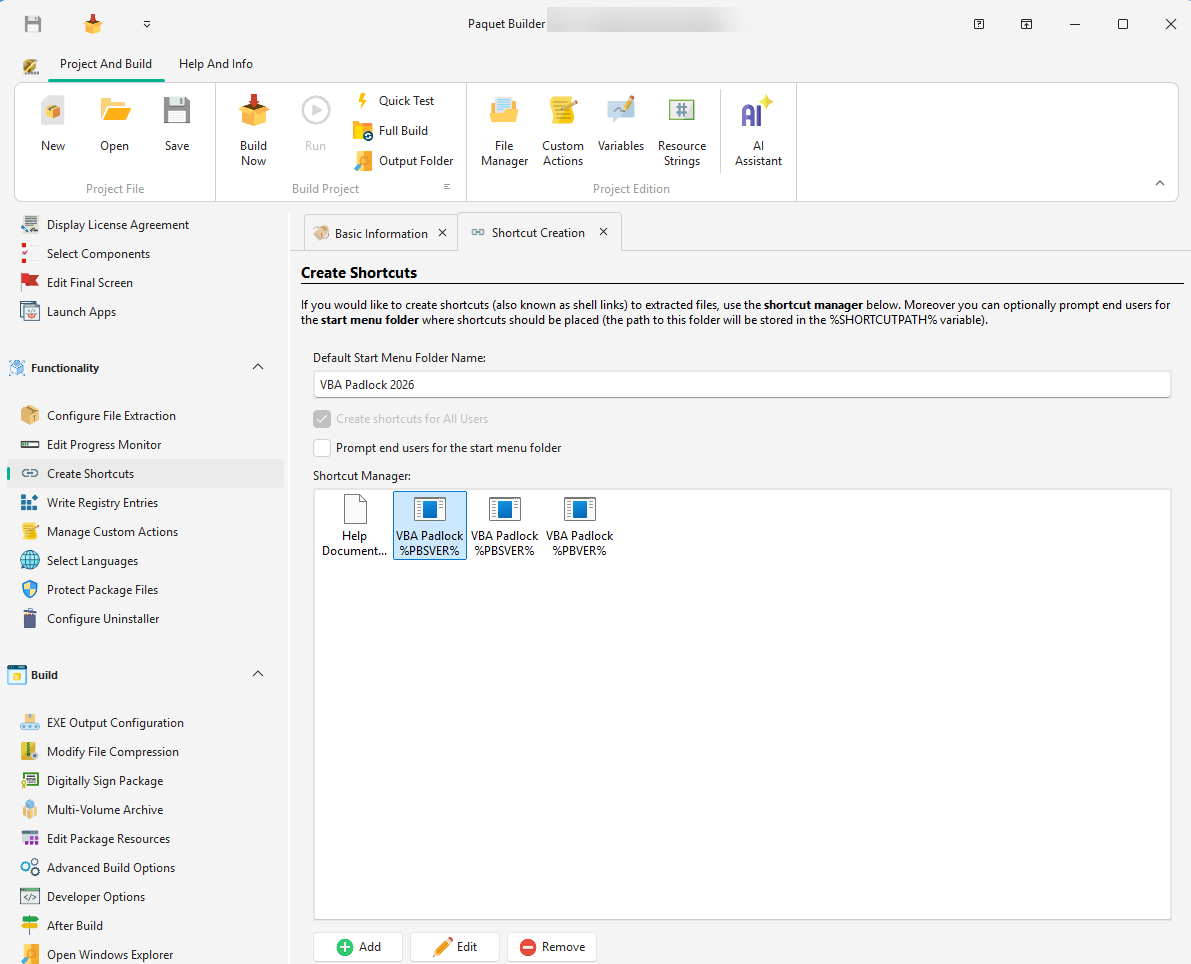
The Shortcut Manager lets you create shortcuts (shell links) to your extracted files and place them on the Desktop, in the Start Menu, or within custom program groups.
Add
Click Add to select a file from your project and open the Shortcut Editor.
Edit
Double-click any shortcut to modify its properties.
Remove
Select a shortcut and press Del.
Copy / Paste
Right-click a shortcut to duplicate it — useful for creating multiple targets for the same file.
Group multiple shortcuts into a dedicated Start Menu folder (Program Group):
My App 2.0).The selected folder path is stored in %SHORTCUTPATH%, which you can use in custom actions.
| Property | Description |
|---|---|
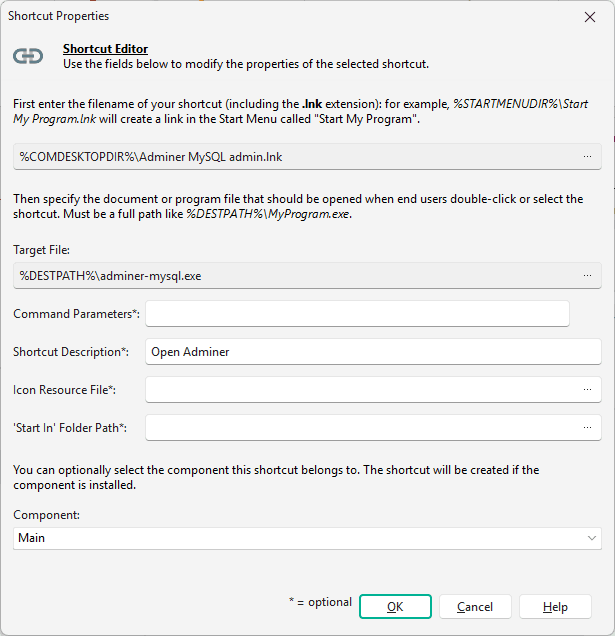
| Filename | Full path to the .lnk file (e.g. %DESKTOPDIR%\App.lnk) |
| Target | File or URL to execute (e.g. %DESTPATH%\app.exe) |
| Parameters | Optional command-line arguments passed to the target |
| Description | Tooltip text shown when hovering over the shortcut |
| Icon File | Path to an .ico, .exe, or .dll file. Use index syntax for multi-icon files: file.dll|2 |
| Start-In | Working directory for the application when launched (commonly %DESTPATH%) |
| Component | Link to a component — if skipped, the shortcut is not created |
| Variable | Description |
|---|---|
%PROGMENUDIR% | Current user’s Programs folder (Start Menu) |
%COMPROGMENUDIR% | Common (All Users) Programs folder (Start Menu) |
%PBSHORTCUTROOT% | Start Menu folder adapted to installation scope |
%PBDESKTOPROOT% | Desktop folder adapted to installation scope |
%SHORTCUTPATH% | Start Menu folder selected by the user (when prompted) |
%DESKTOPDIR% | Current user’s Desktop folder |
To create Internet shortcuts (.url files that open a web page), use the Create an Internet Shortcut custom action instead.